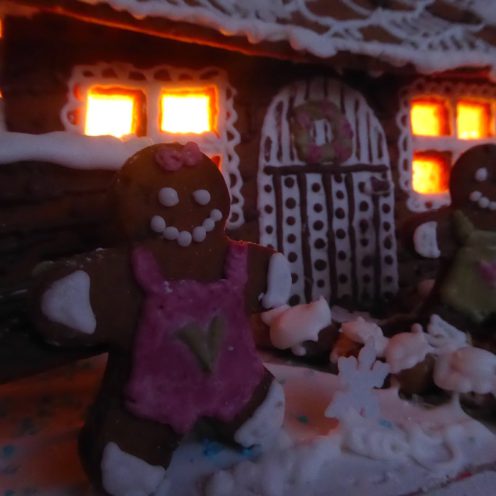
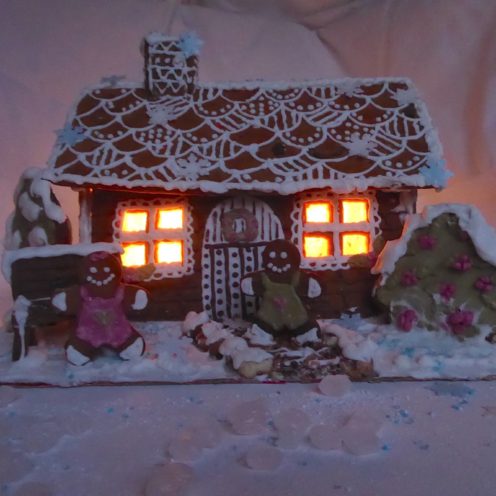
“ Twas the night before Christmas and all through the House there is a wonderful yellow light, and it sounds like someone is eating my House. OH NO, can you guess what I am? Of course, you can I’m a Gingerbread House. ”
Do you have traditions or things that you do every Christmas Season? I am sure you do! One of those little traditions that I like to keep, or seem to have done the last years is bake and Decorate a Gingerbread House. Sometimes you just need a reason to do it, a kick in the butt, to say and a contest is a great option for that.
The original Reason may be the Contest, but I like to look at it as more of a Reminder of this beautiful Christmas Tradition. While the fun lasts why not enter it in a contest, there are so many contests especially involving Gingerbread Houses around Christmas. It is a beautiful Activity to do with people you love. Decorating it and getting all messy. Of course, as you get older the Gingerbread building, does get a lot more Technical, and Creative. After all you want to win and have something beautiful to display during the Christmas Season.
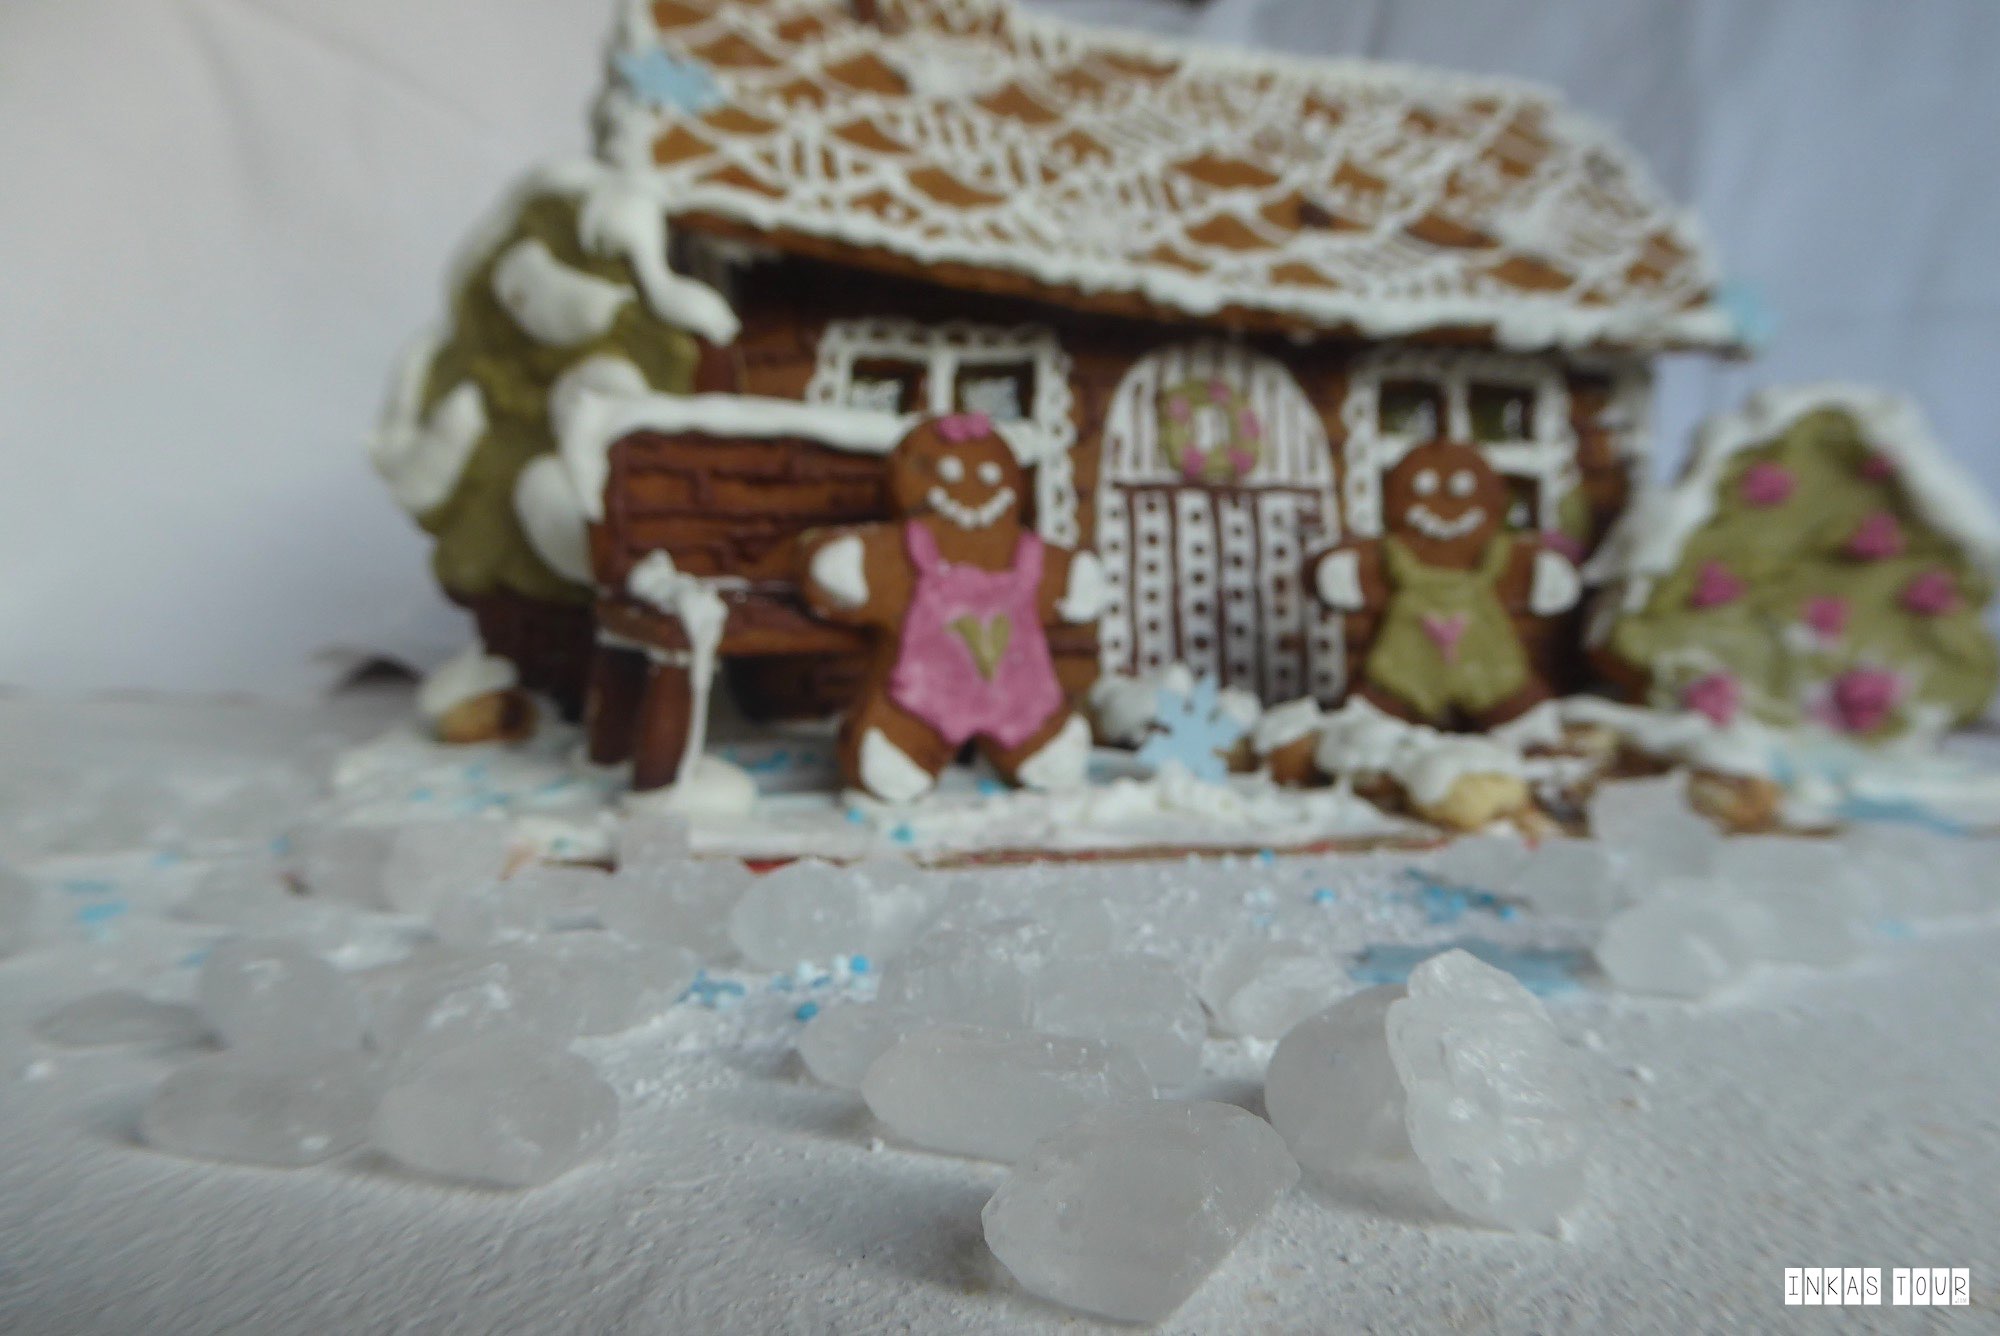
A Contest was also the initial Reason for the baking of this Gingerbread House, the one by Tobi from Kuchenbaecker , who is calling everyone to bake more Gingerbread Houses. And if you live in Germany you have some great chances at winning a Kitchen Aid, a small dream of any Baker.

What I really love about baking a Gingerbread House is the History:
Gingerbread has been around for thousands of years. They were baked at first and used for religious ceremonial purposes. In 922 AD an Armenian Monk, Gregory of Nicopolis brought the Gingerbread to Europe. The Religious Path of the Gingerbread continued at first, and during the 17th century the European royalty of the time only permitted gingerbread to be baked by specially trained gingerbread bakers, it was considered an important profession, with the exception during Christmas and Easter. As a result of modern society loves to bake gingerbread during these seasons.
Gingerbread houses were made famous by the Brother Grimms Fairytale Story “ Hensel and Gretel”, which has the “witch” live in an all edible house.
The Baking of Gingerbread Houses has also become a tradition in the White House, so why should you not also make it your tradition?
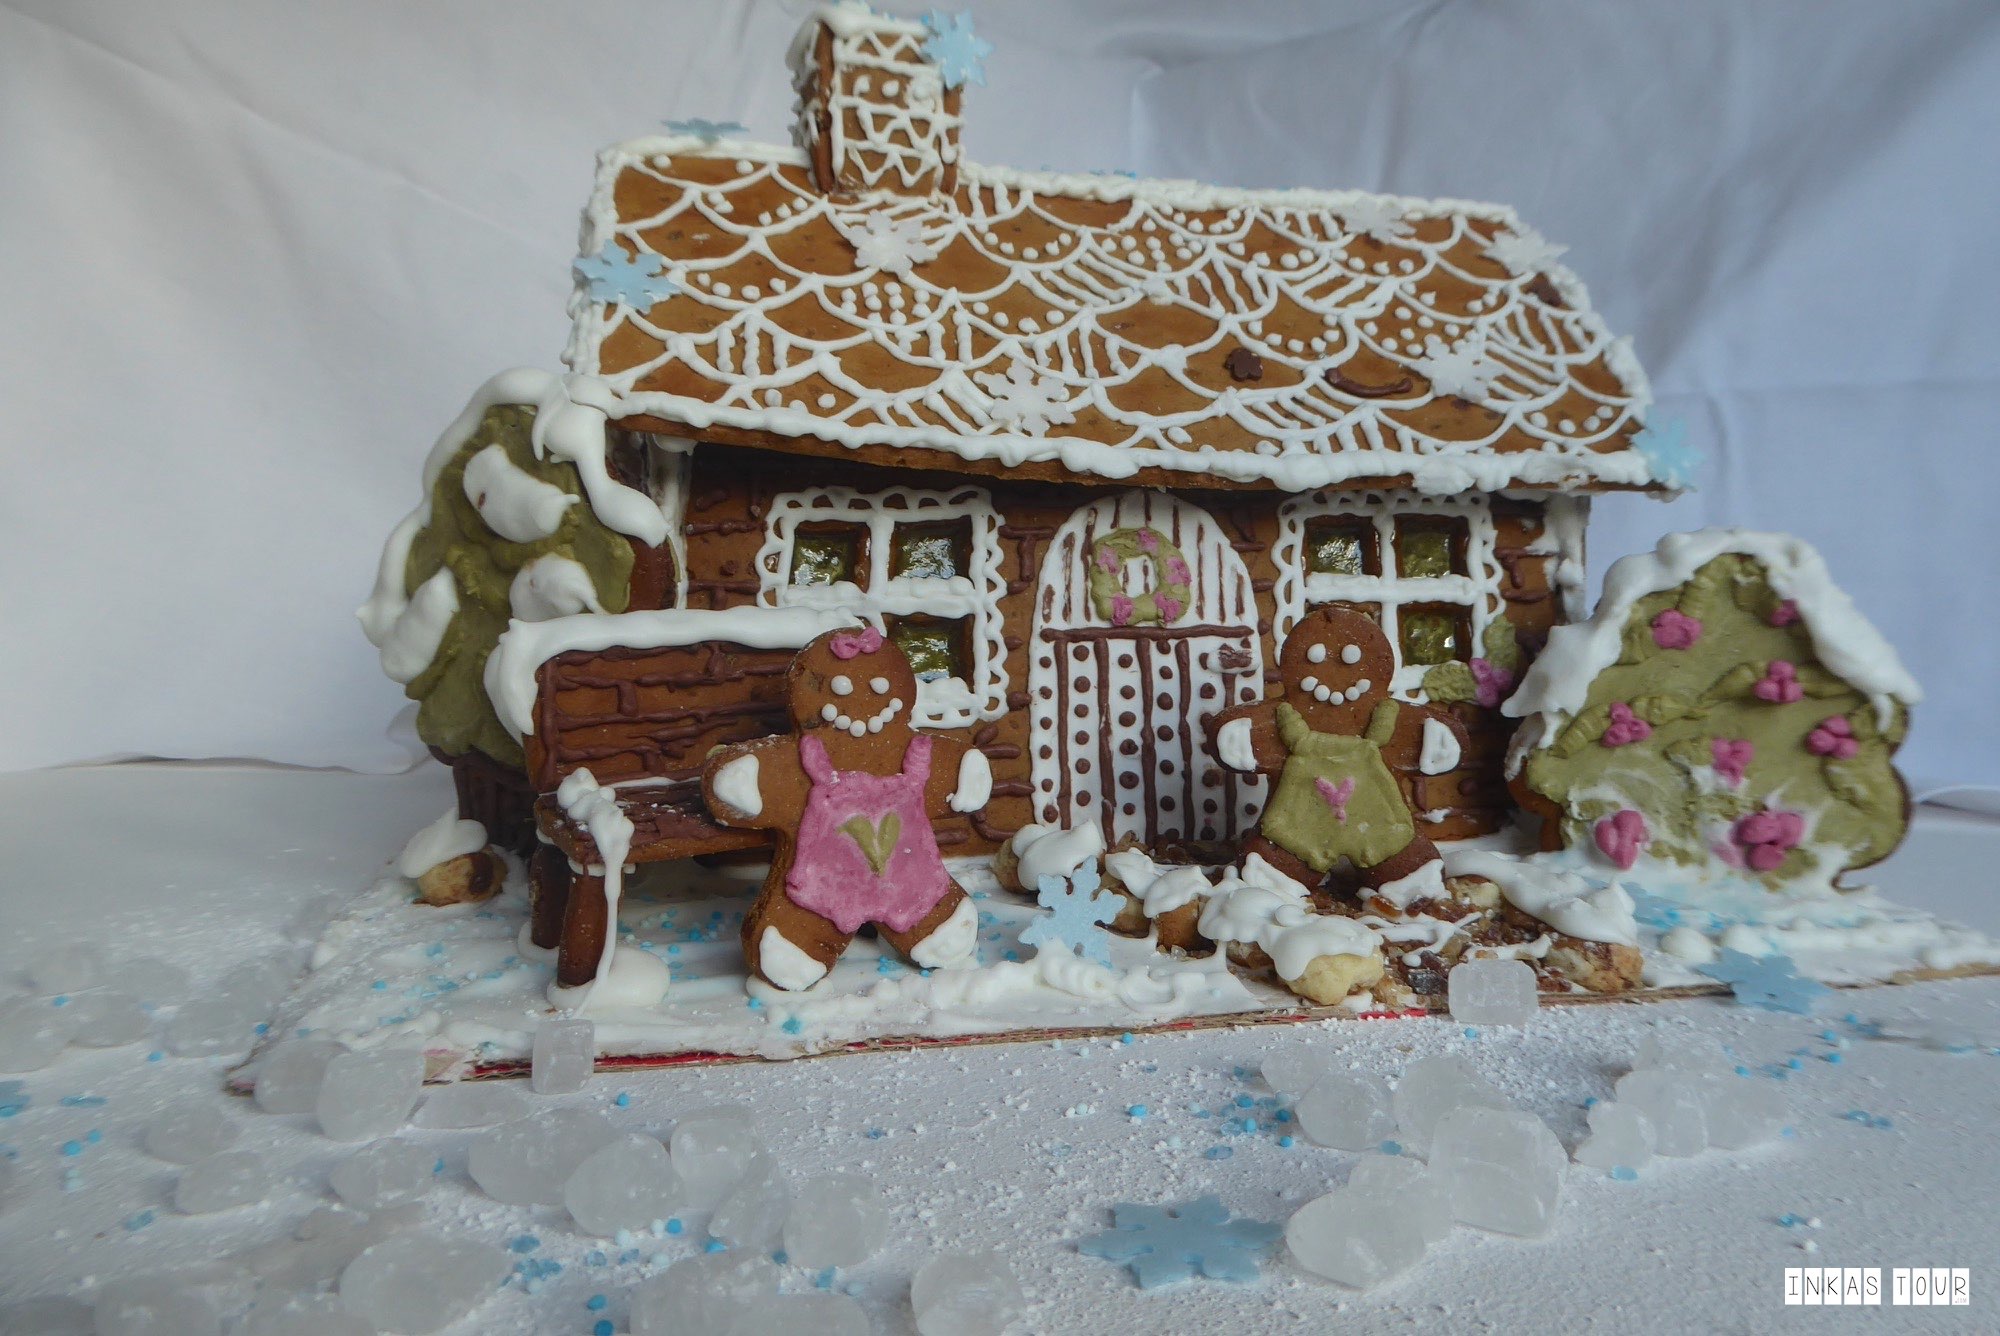
Baking a Gingerbread House can be a lot of Fun, you can get as creative as you want, and eat a lot of Candy while you are at it. But sometimes we just want to create something a little more challenging. I would have never thought to add real “Glass” into a Gingerbread House until Tobi mentioned it in this post. After that, I just knew I need to do that as well, it was something new I had not done before.
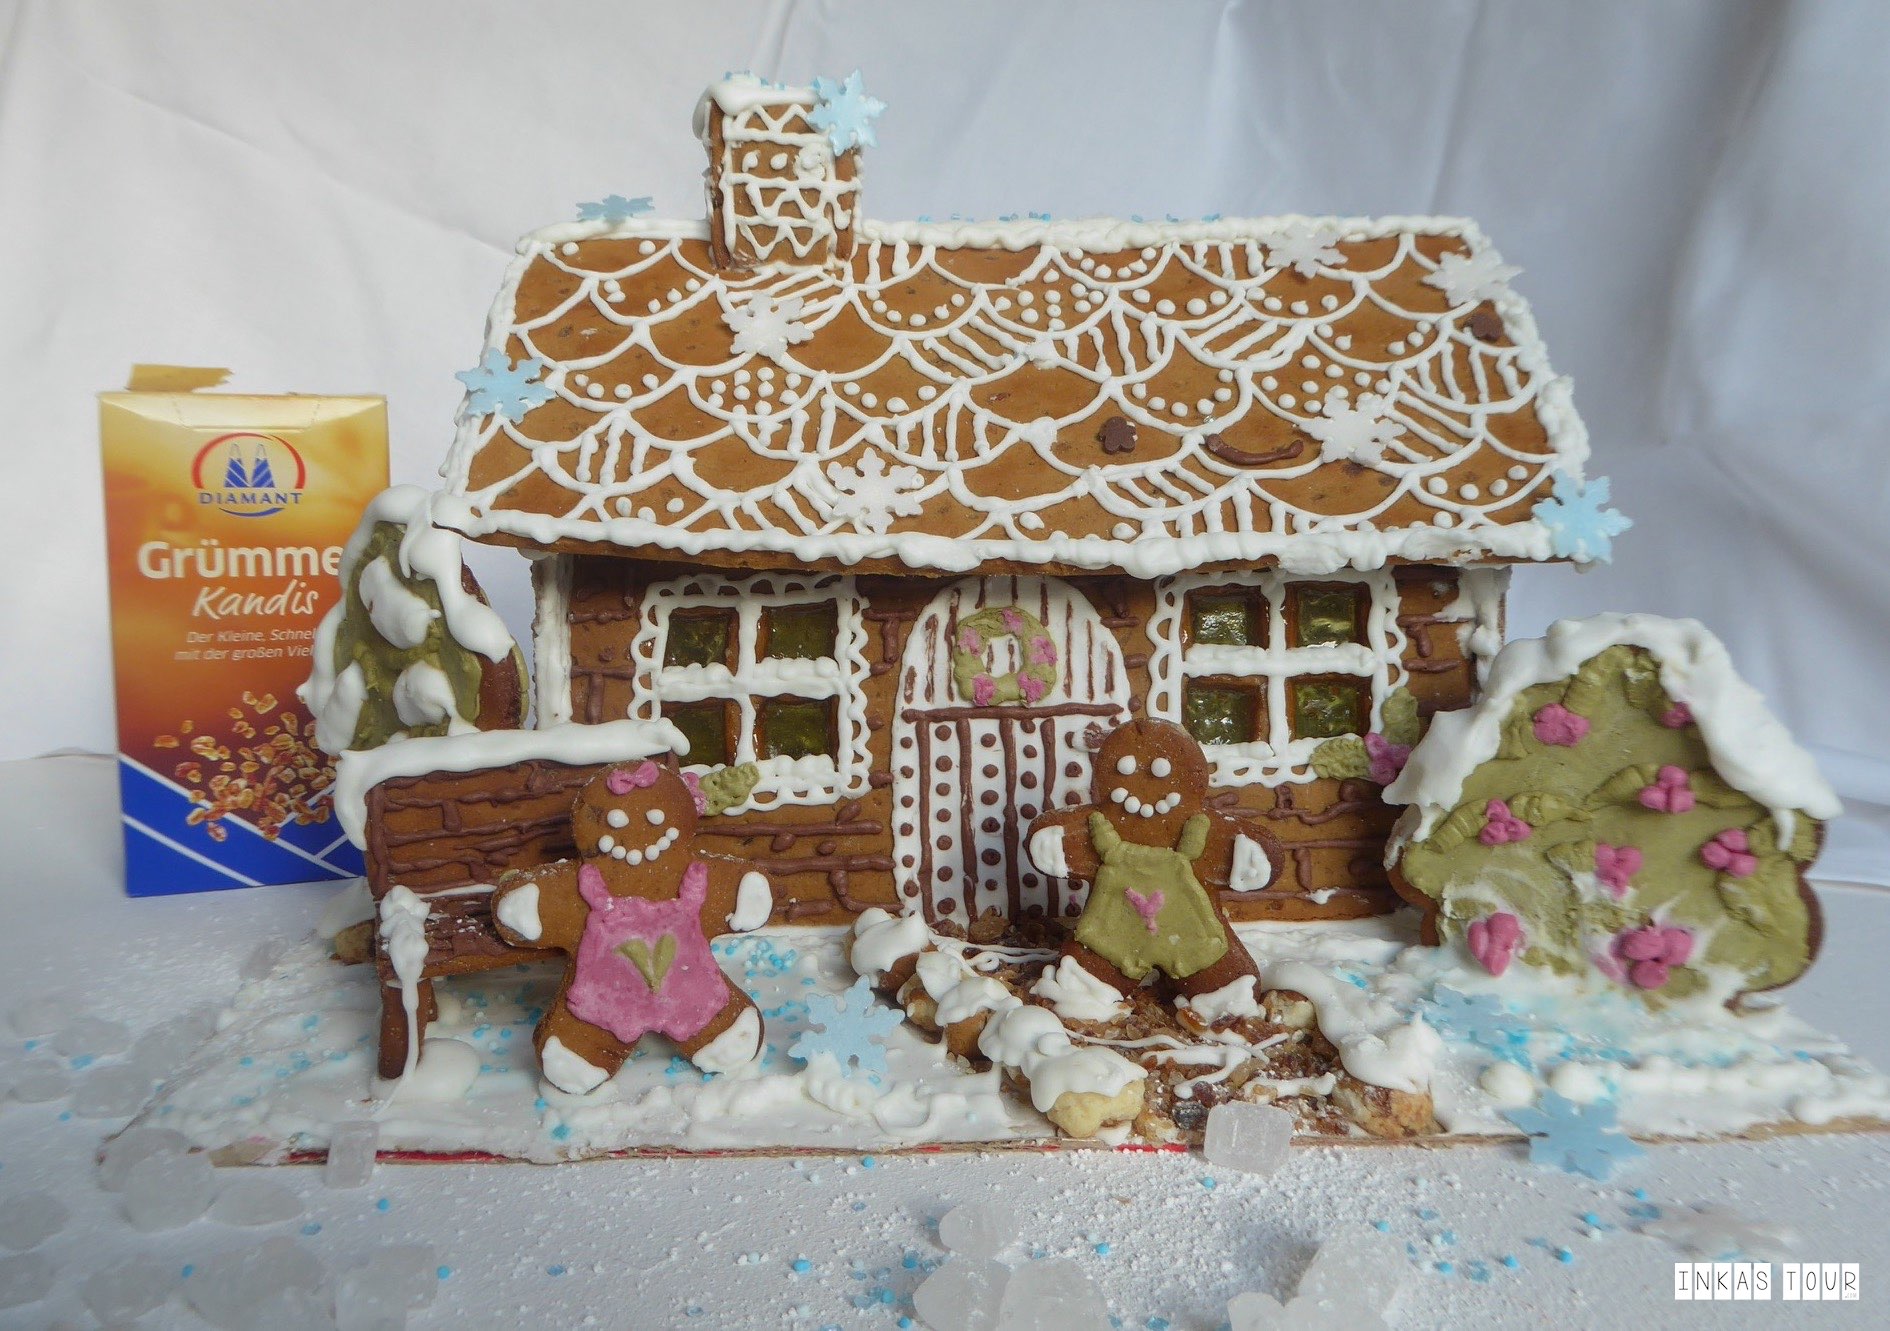
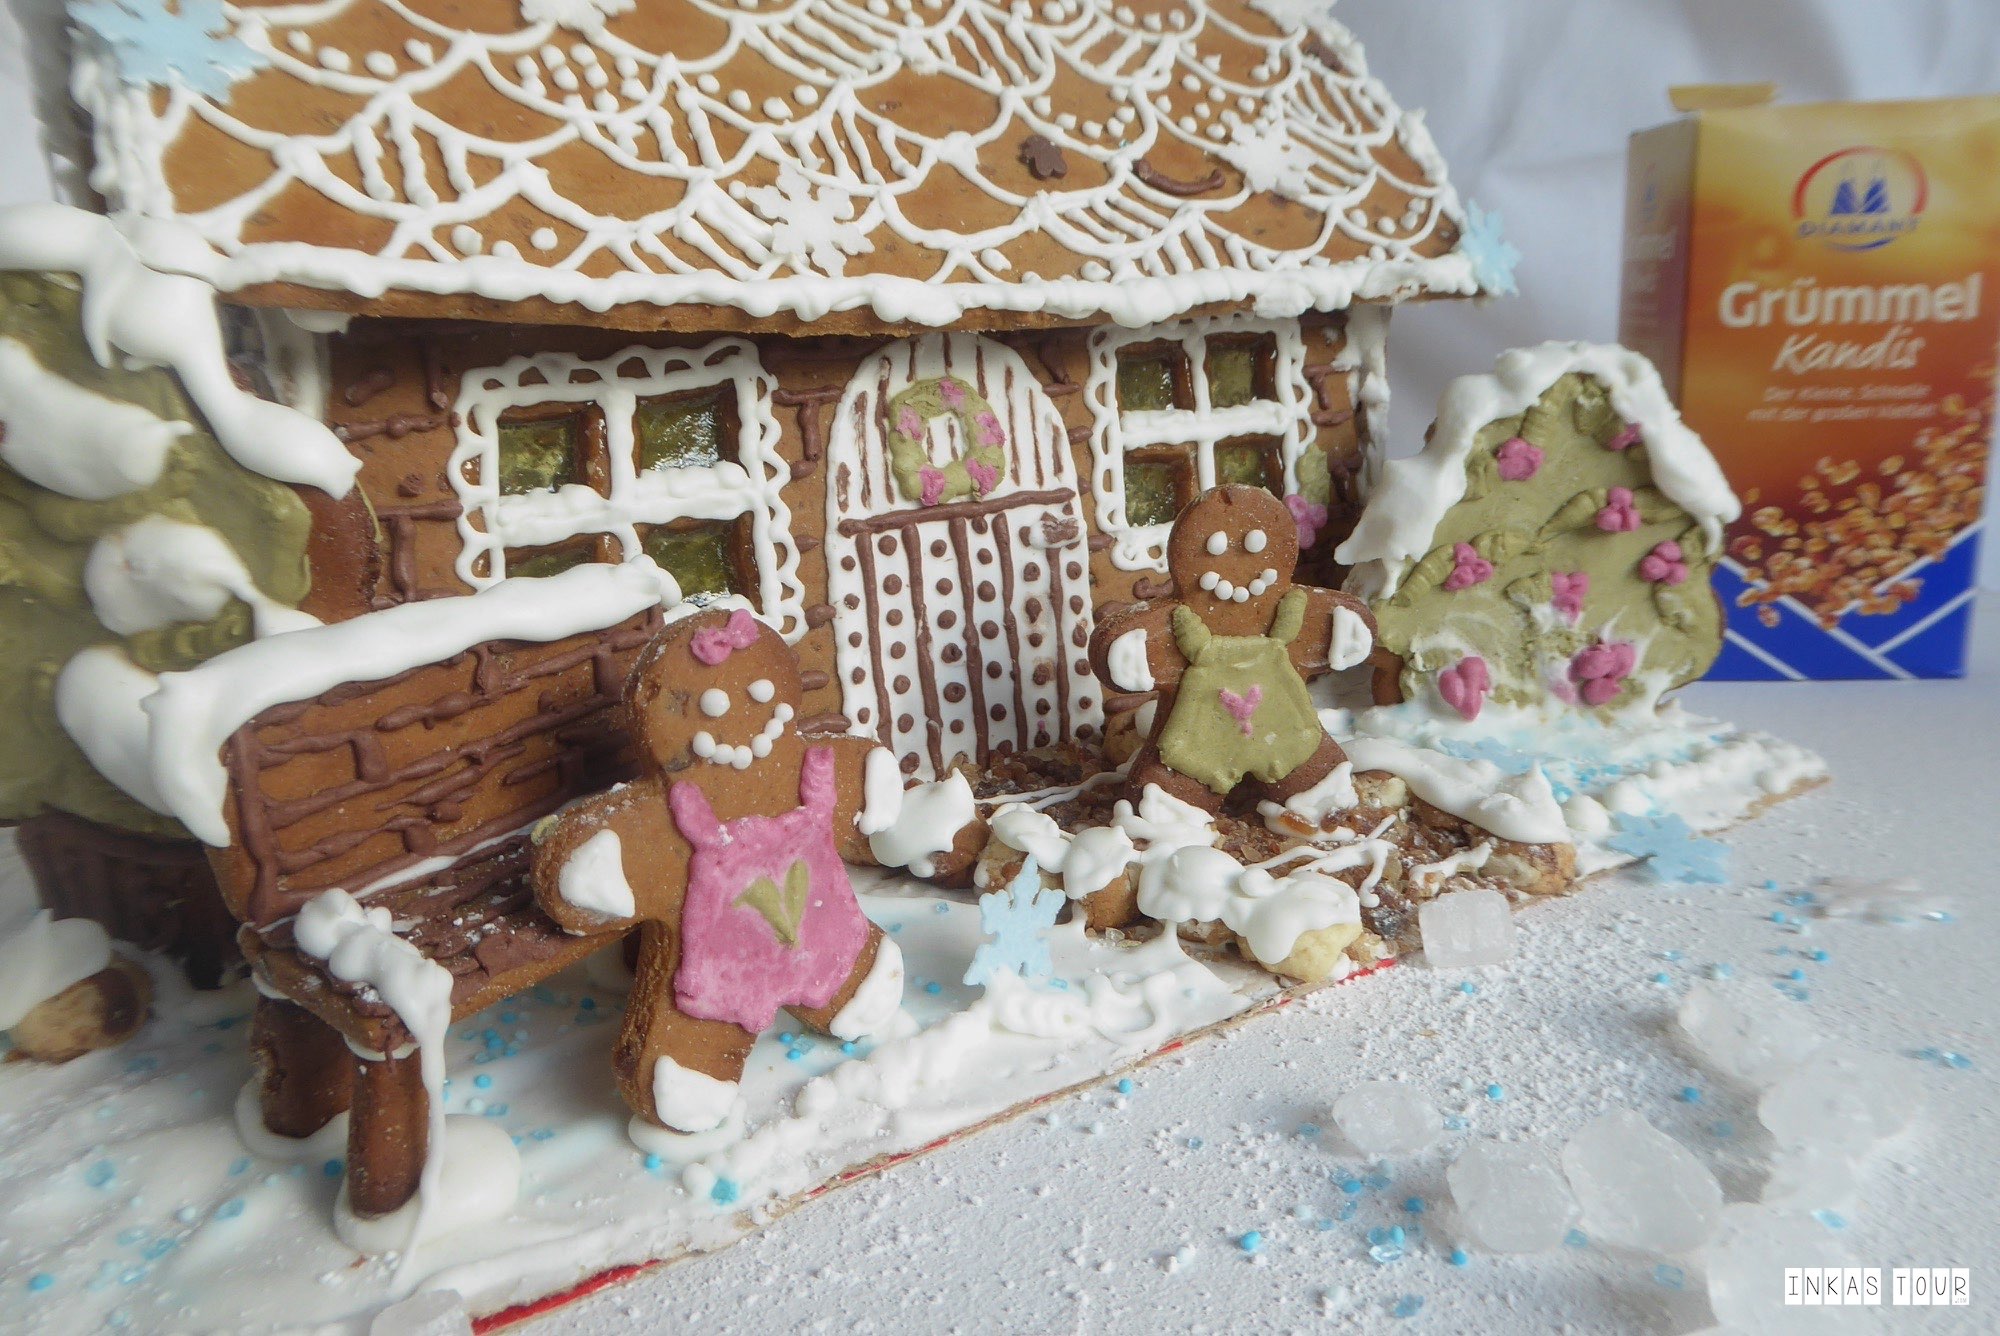
I was all about creating a cute Cabin, and making a beautiful lit up Gingerbread House, that could even just add a little Christmas spirit in itself to light up, and I use everything you got a home to decorate and Bake this Gingerbread House. But as faith wanted it, of course, the Brown Sugar was out. Good thing I had some Braun Kandis Sugar from Diamond in the Kitchen that I decided to use instead. I am so glad it worked.
Let the Fun begin:
- 325 g Sugar Beet Molasses
- 100 g Diamant Brown Sugar (alternatively use the Kandis Braun Sugar)
- 100 g Butter or Margarine
- 2 tbsp Gingerbread Spice
- 500 g Flour
- 1 pack Baking Powder 15 g = 1 Pack
- 4-6 Hard Sugar Candies *Windows for your Gingerbread House
- 3 Egg whites Room Temperature
- 750 g Icing Sugar
- 1 tsp Dried Raspberry Powder
- 1 tsp Matcha Green Tea Powder
- 40 g Sprinkles
-
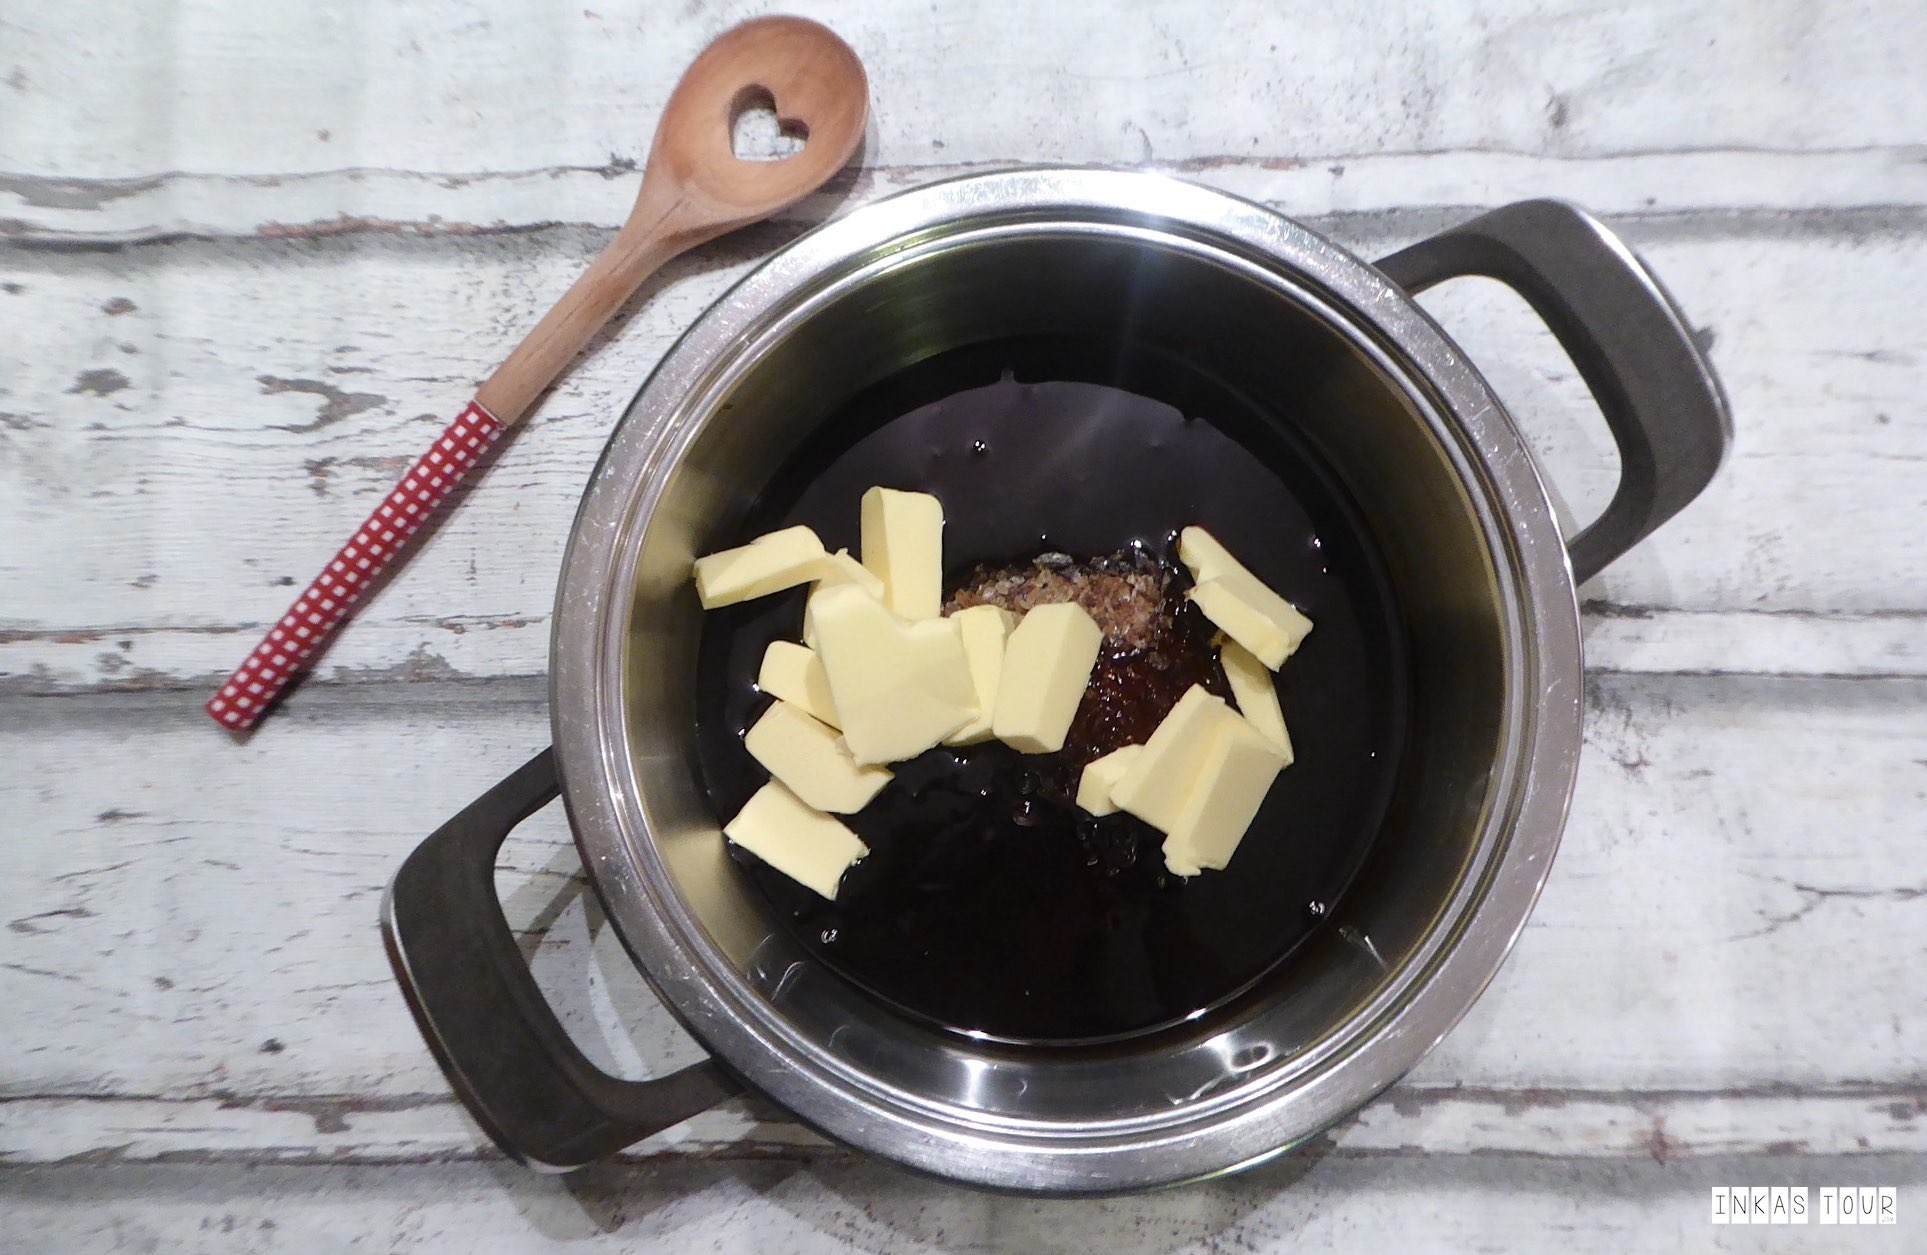
In a Pot mix, Sugar Beet Molasses, Brown Sugar and Butter (or Margarine) until the Sugar has melted, on low heat.
Let the Mixture Cool Down to Room Temperature.
-
Mix the Gingerbread Spice under the COOLED Sugar Bear Molasses Mixture.
-
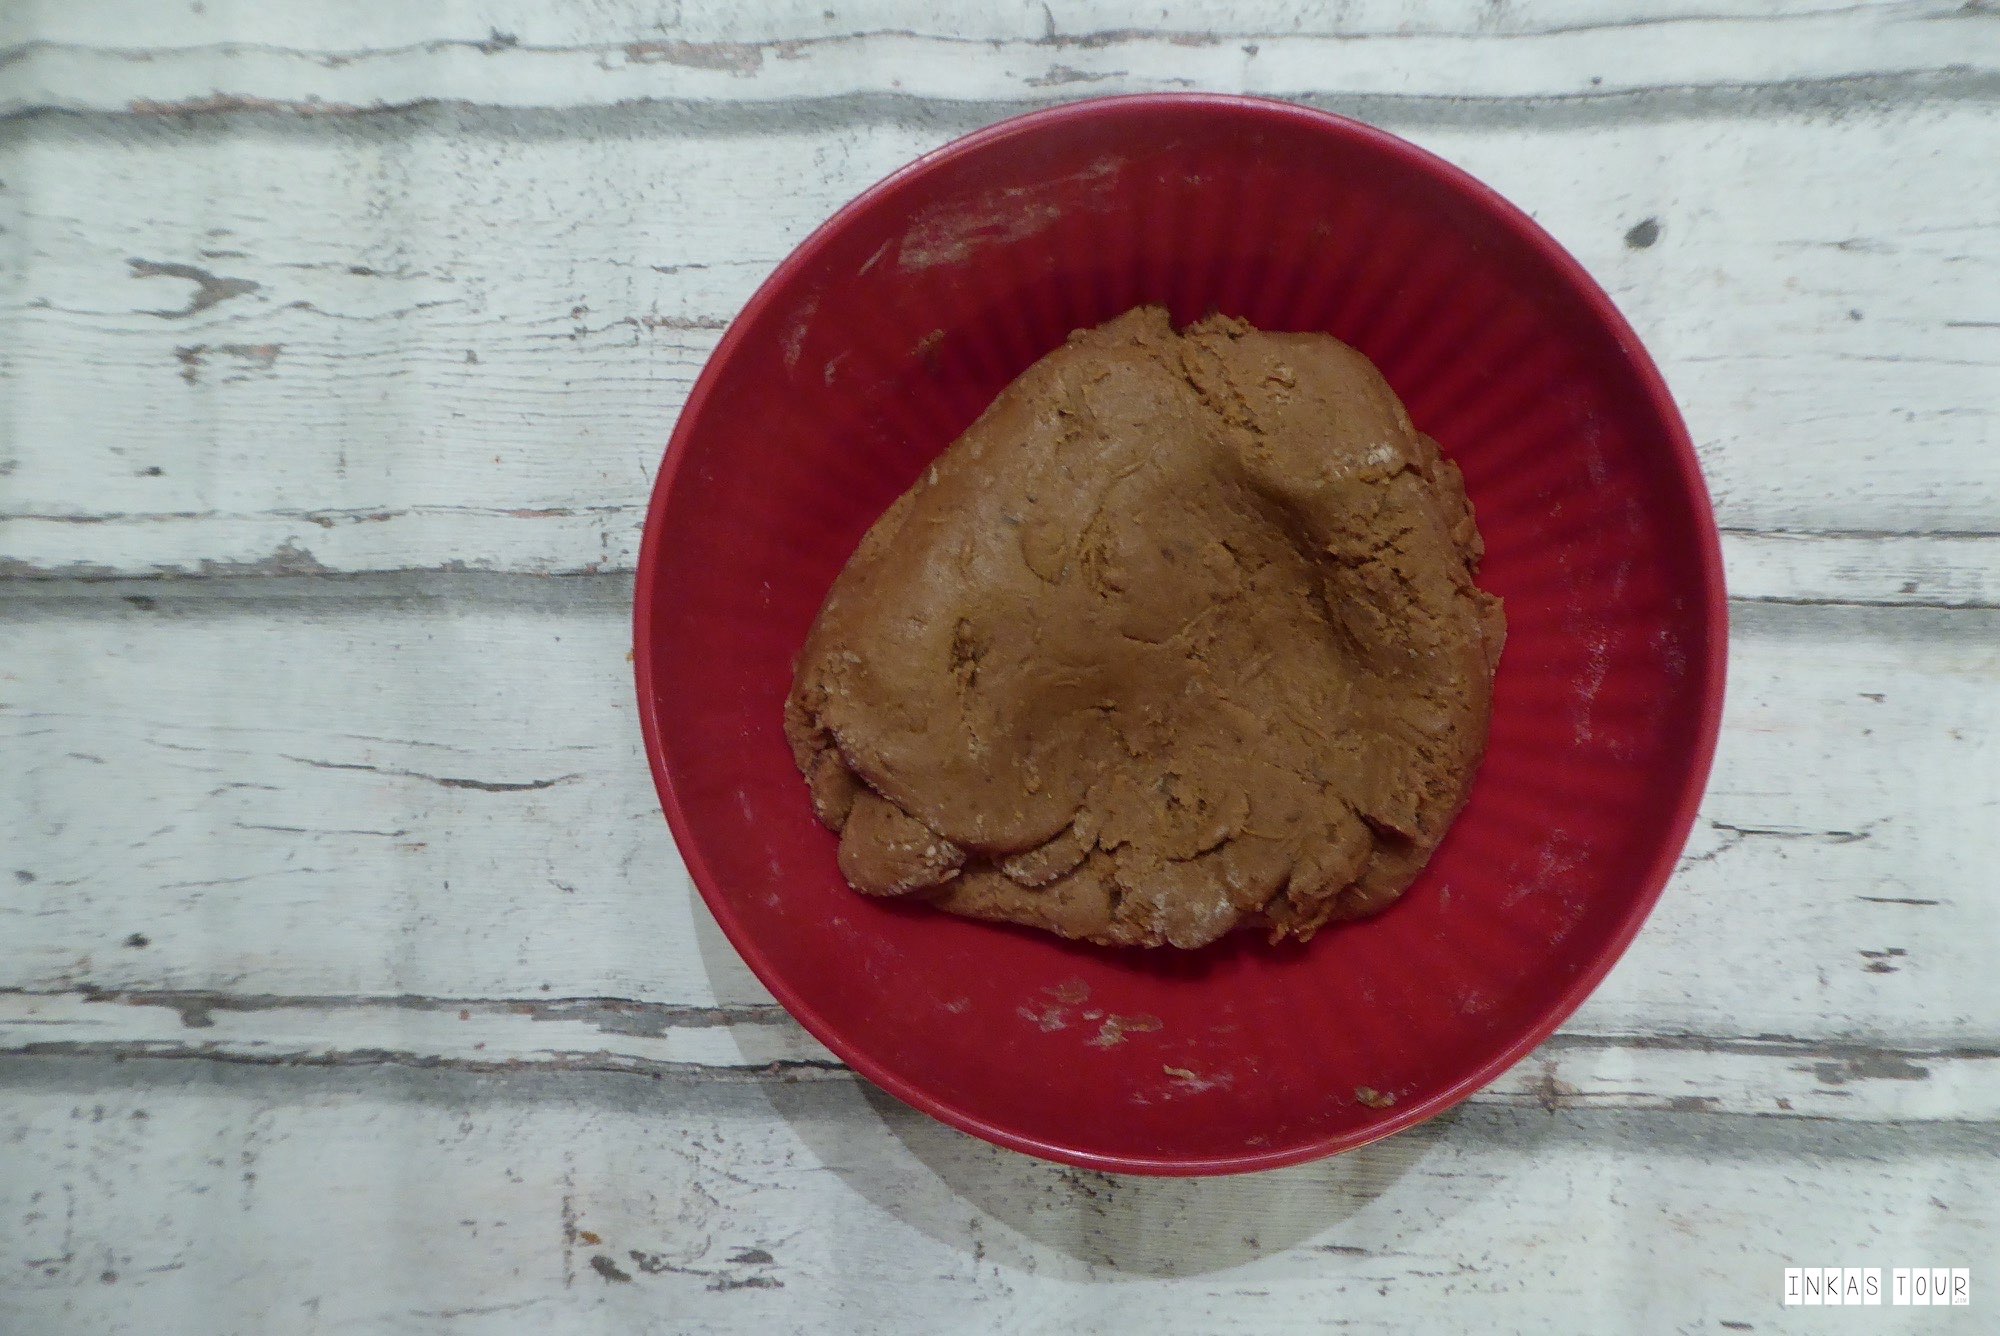
Combine the Flour and Baking Powder, and add the Sugar Bear Molasses Mixture. Knead the Mixture together until a solid dough is formed.
-
Cover the Dough with Plastic Wrap, and let it set in the Fridge at least 4 hours, best is to cool overnight.
-
After the Fridge Time, prepare to Baking Sheets with Baking Paper and preheat the oven to 180ºC Upper and Low heat or 160ºC Fan- bake.
-
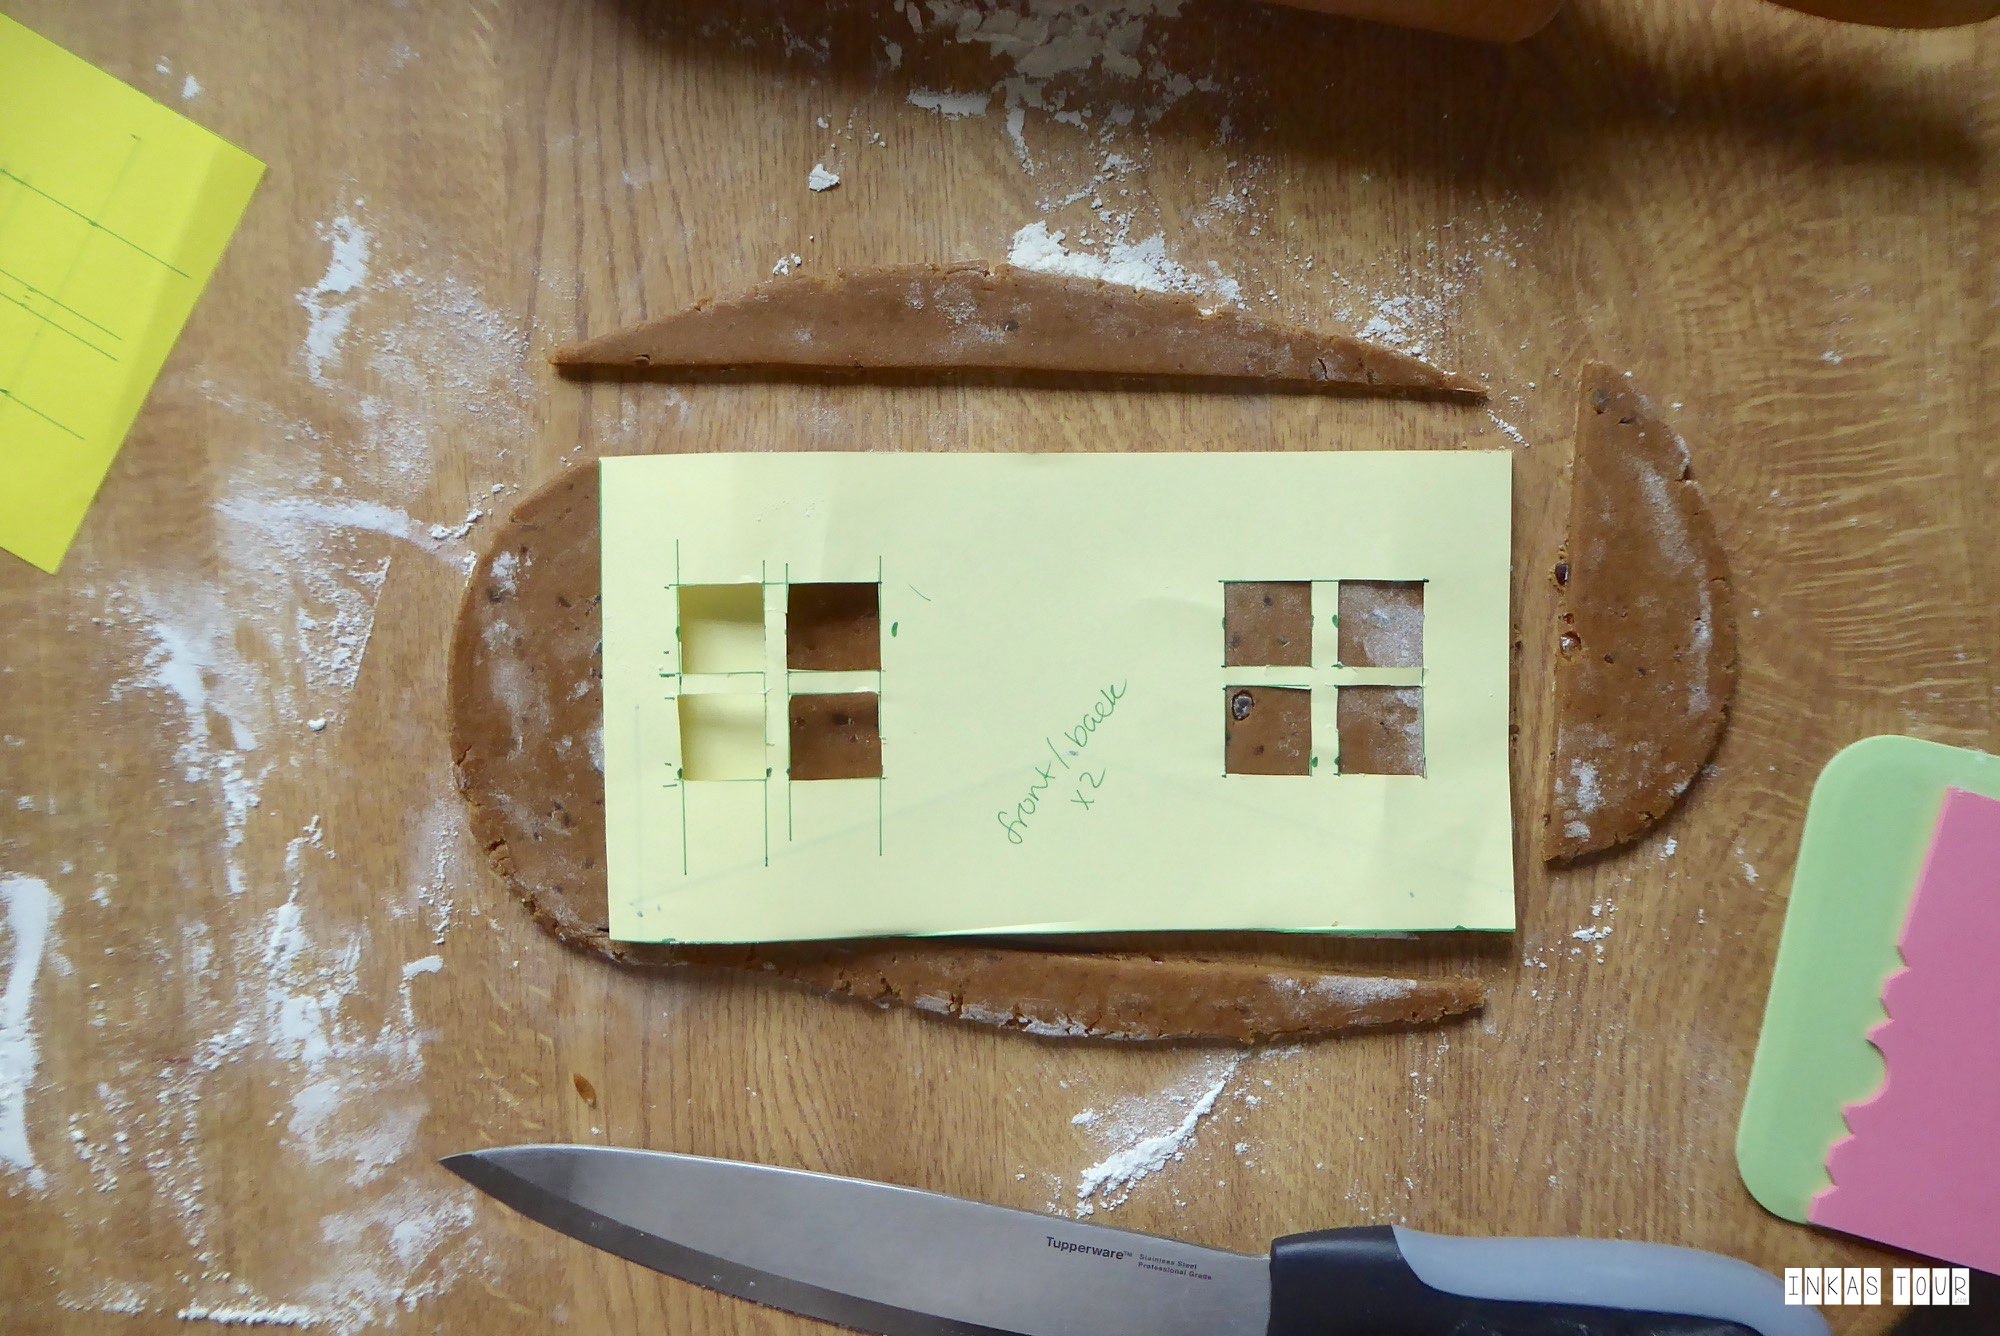
Roll out the dough about 0.8 – 1cm thick.
Take your Gingerbread House Stencils and trace each component of your house. Front, Back, Sides, Chimney and any other “things” you might find useful like pieces for a Bench, a Bush, Tree, Snowman or form some Balls for future Rocks.
* Make sure you cut out the Windows before baking!!
**DOUBLE CHECK so you don’t forget anything.
Place each of the components onto a Baking Tray.
-
Place Baking Trays in the oven set a timer for 4 minutes.
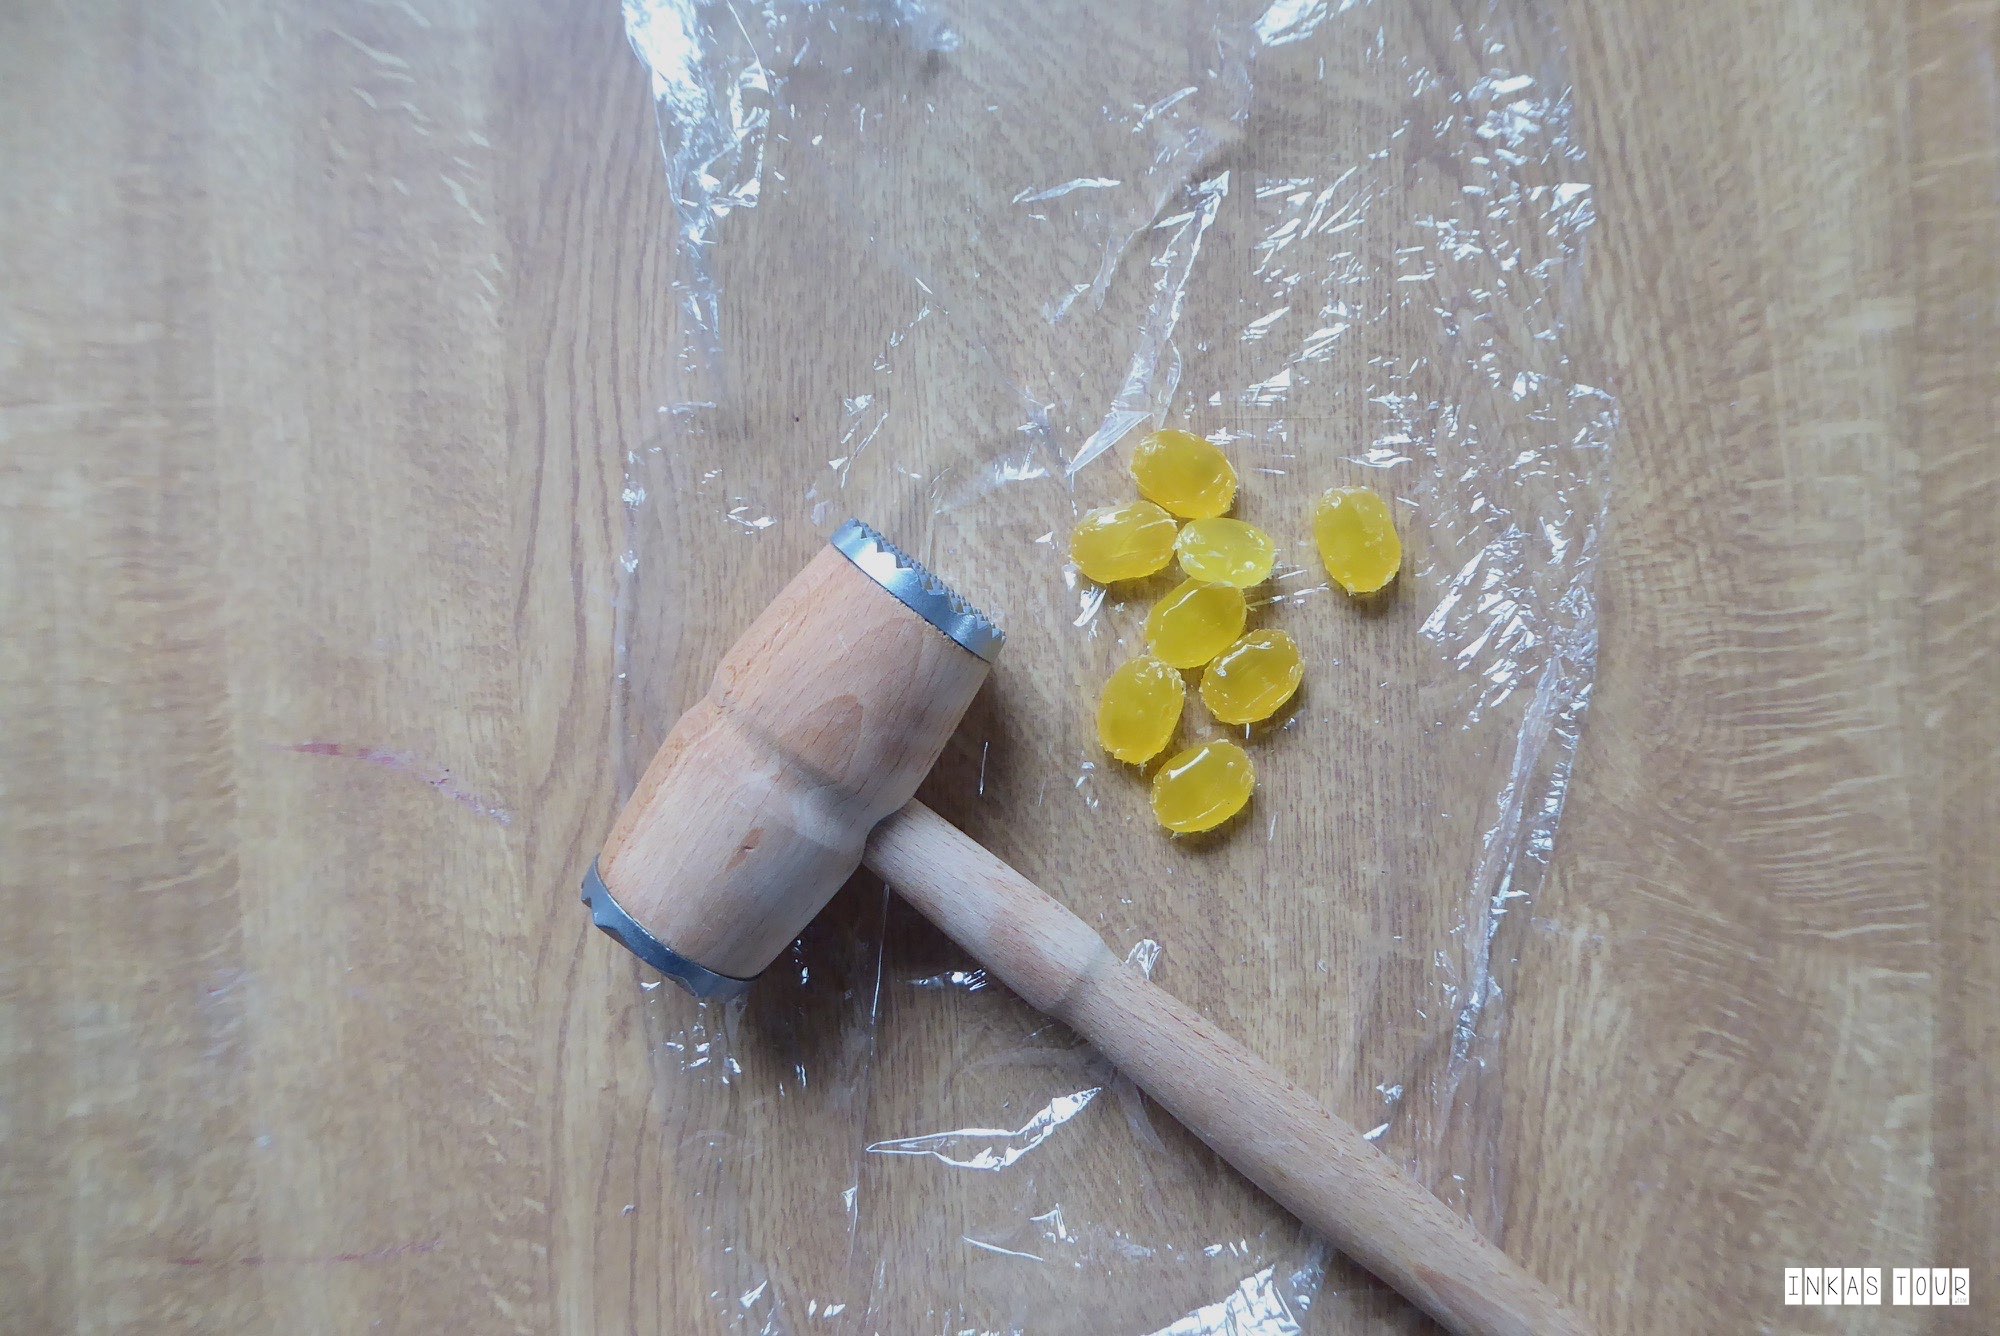
In the meantime crush the Candies into smaller pieces.
-
After four minutes full out your Gingerbread, and sprinkle the Candy into your Window as the glass. (These will melt in the oven and make the perfect windows for your Gingerbread house.)
-
Place back into the oven for another 4-6 minutes.
Let the Gingerbread cool down completely before you continue to the next task.
-
Beat the Egg whites while sifting in the Icing Sugar. Mix until it is a glossy thick mixture.
For Glue or contour lines you want it to be thick, but still pipable.
For detailed decorations and filling you want it to be a little runnier. Do this by adding a few drops of Water so a smaller batch.
Separate off any Icing Sugar from different consistencies and to colour royal icing. Best are Powder Colors (use all natural colours like matcha or raspberry powder). If it gets too thick add a few drops of Water.
Place the different batches of Royal Icing a thick, a runnier version, and colour versions into piping bags.
-
Make a Choice:
Do you want to Decorate your Gingerbread House with Candy? Skip to Assemble.
Do you want to Draw Creatively on your House, DON’T assemble yet! Do the detailed work first, the royal icing will be hard as a rock after you let it set to dry.
-
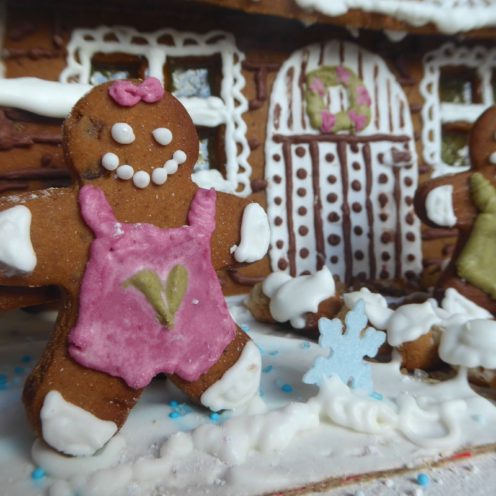
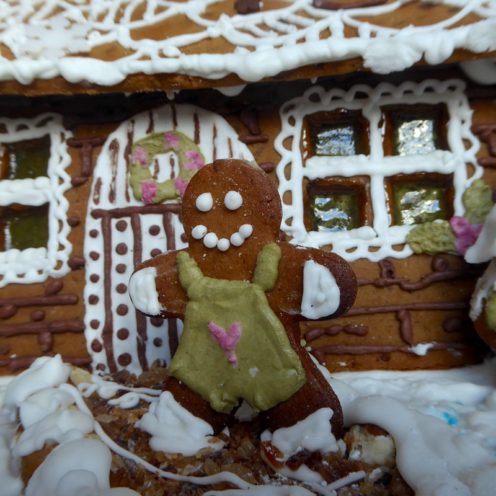
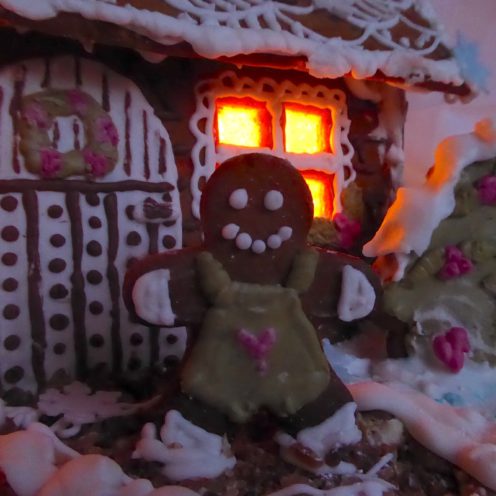
It is easier to draw creatively onto your Walls on a flat surface rather than upright. Decorate the Trees, Snowman or Gingerbread Man. To add to your Gingerbread House Landscape.
-
Take your Board (either an edible underground of a Cardboard piece on which you Gingerbread house will fit.
-
Spread a thin layer of icing Sugar over the whole board to create the Snow look.
-
Take your thick Royal Icing and draw a line onto the board for the back piece of your house. And place the Wall upright into the Royal Icing Line.
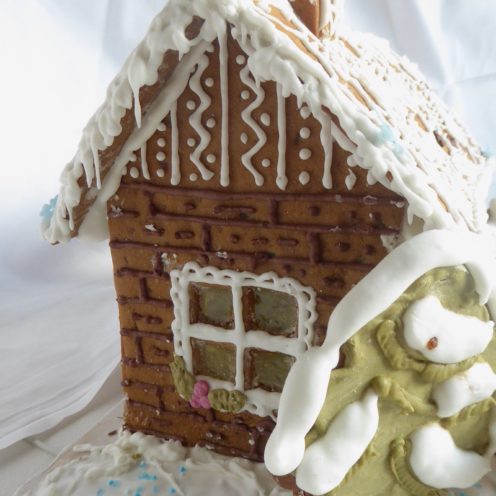
Continue assembling your Gingerbread House, wall by wall and finally the roof and Chimney. Don’t be afraid to use a lot of Icing to hold everything in place, it will just look like snow on your Gingerbread House.
-
If you have not decorated beforehand, decorate with Candies, Sprinkles whatever your heart desires.
-
Have fun, no Gingerbread House is the same.
Are you baking a Gingerbread House this year? Is that something your Family does for Christmas?

All content, pictures Copyright © 2015 by InkasTour.com • All Rights Reserved. All other content is copyrighted by the respective authors and linked to Origin.

Leave a Reply